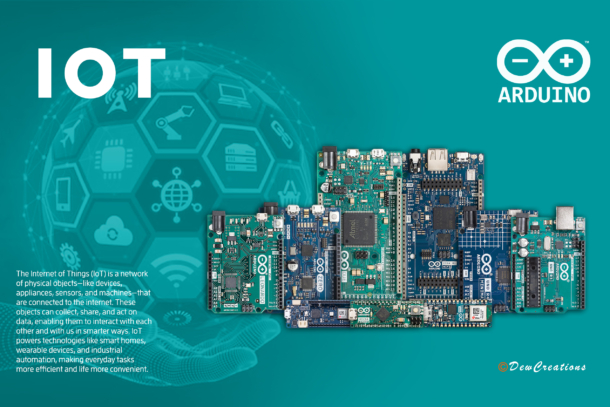
The Internet of Things (IoT) is revolutionizing how we interact with technology in our daily lives. From smart homes and wearable devices to industrial automation, IoT bridges the gap between the physical and digital worlds. One of the most accessible and versatile tools to get started with IoT is Arduino. This open-source hardware and software platform is ideal for beginners and advanced enthusiasts alike.
What is IoT?
IoT refers to a network of physical objects “things” embedded with sensors, software, and other technologies to connect and exchange data with other devices and systems over the internet. These devices can range from simple home appliances to sophisticated industrial machinery.
Why Choose Arduino for IoT?
Arduino stands out in the IoT landscape for several reasons:
- Ease of Use: Its user-friendly programming environment makes it a go-to platform for both novices and experts.
- Affordability: Arduino boards are cost-effective, making them perfect for hobbyists and prototyping.
- Extensive Community: A vast global community ensures you have access to tutorials, libraries, and forums.
- Versatility: It supports a wide range of sensors and communication modules, making it adaptable to various IoT applications.
How to Get Started with Arduino and IoT
Here’s a step-by-step guide to dive into IoT using Arduino:
- Choose the Right Arduino Board
- Arduino Uno: Best for beginners.
- Arduino Nano: Compact and ideal for small projects.
- Arduino MKR WiFi 1010: Comes with built-in Wi-Fi for IoT projects.
- Arduino Nano RP2040 Connect: Features built-in Wi-Fi and Bluetooth.
- Set Up Your Development Environment
- Install the Arduino IDE from the official website.
- Connect your Arduino board to your computer via USB.
- Select the correct board and port in the Arduino IDE.
- Add Sensors and Modules
- Equip your Arduino with sensors to collect data and modules for connectivity:
- Sensors: Temperature (DHT11/22), humidity, light, motion (PIR), etc.
- Communication Modules:
- Wi-Fi: ESP8266 or ESP32 for wireless communication.
- Bluetooth: HC-05 or HC-06 for short-range communication.
- LoRa: For long-range, low-power communication.
- Equip your Arduino with sensors to collect data and modules for connectivity:
- Program Your Arduino
Write or download code from libraries that suit your project. For example, to read temperature data using a DHT11 sensor, you can use the DHT library in Arduino IDE. - Send Data to the Cloud
Connect your device to IoT platforms like:- ThingSpeak: For visualizing data in real time.
- Blynk: A mobile app for controlling your devices remotely.
- Adafruit IO: For logging and analyzing IoT data.
- Test and Scale Your Project
Test your prototype to ensure it works seamlessly. Once satisfied, you can scale the project by adding more sensors or optimizing code for efficiency.
Popular IoT Projects with Arduino
Here are some exciting project ideas to inspire you:
- Smart Home Automation: Control lights, fans, or appliances using your smartphone or voice commands.
- Weather Station: Measure and log temperature, humidity, and air quality data.
- Security System: Use motion sensors and cameras to detect intruders and send alerts.
- Plant Monitoring System: Keep track of soil moisture and send notifications when plants need watering.
- IoT-Based Health Monitoring: Measure vitals like heart rate and send data to healthcare professionals.

